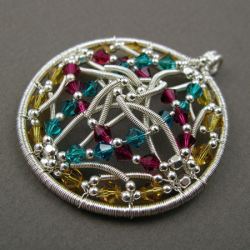
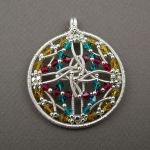
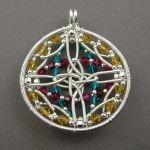
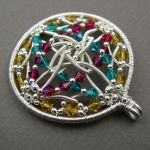
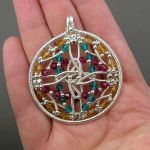
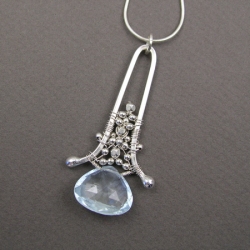
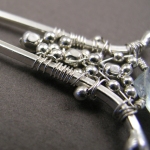
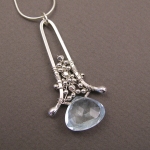
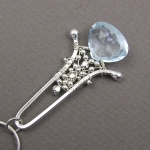
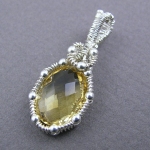
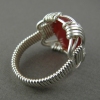
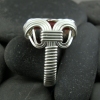
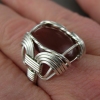
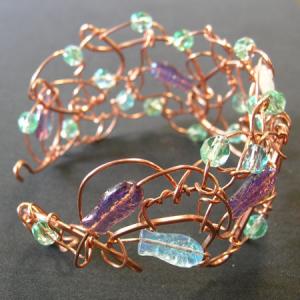
YOJ09-13 Kaleidoscope Pendant

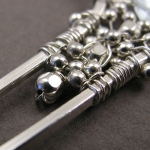
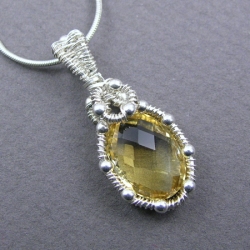
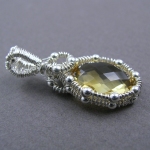
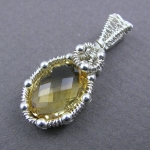
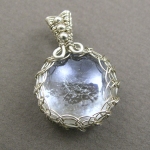
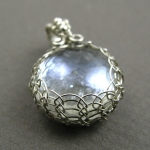
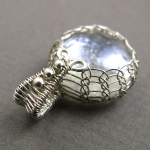
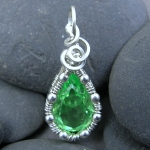
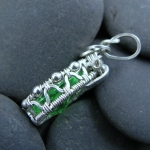
Kaleidoscope Pendant (2009)
Fine Silver, sterling silver, Swarovski crystal
L 5.5 cm x W 4.7 cm x H 1.0 cm
Cold-connected, formed

For the first time this session, my entry is one day late.  It proved to be much more challenging to construct, as I kept changing my mind about what I wanted it to look like.

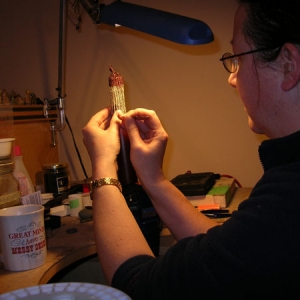
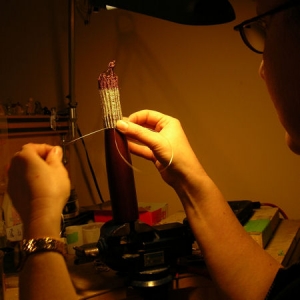
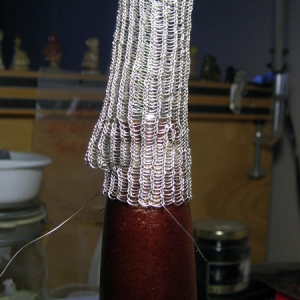
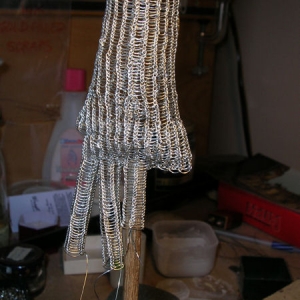
This piece also doubles as my entry for the Etsy Wire Artisan Guild‘s April theme “Kaleidoscope”.  The technique is drawn from a tutorial written by Perri Jackson, a friend and very talented wire artist who makes very intricate pieces from very thin gauge wire.  Ever since Perri asked me to test the tutorial for her, I’ve been mulling over an idea in my head for a piece that adapts the technique.  I’m not ready for that project yet, but “Kaleidoscope” is an intermediate step.

Perri’s blog features more of her spectacular work, and is well worth the visit.

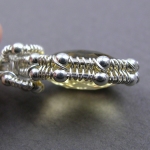
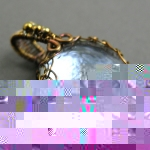
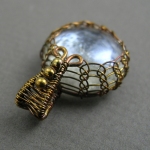
More photos:

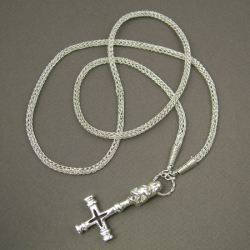
YOJ09-12 Viking Knit Chain (and “Merry Meet”)

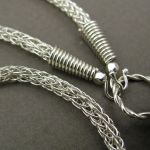
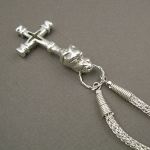
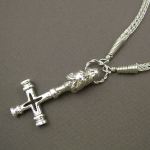
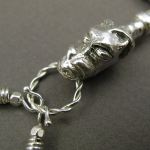
Viking Knit Chain (2009)
Fine silver, sterling silver
Chain L 68.6 cm x W 0.35 cm
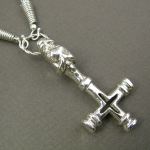
Pendant L 5.8 cm x W 2.5 cm
Nalbinding, constructed, cold-connected, flameworked, cast

Several years ago, my husband and I collaborated on making a Thor’s Hammer.  Malcolm is fascinated by all things Norse, to the point where I’ve joked many times about him being a born-again Viking.  He carved the cross for this pendant, but struggled to model the head properly.  I came up with the idea of forming the head out of stick tack (aka white tack, blue tack etc etc), and then we cold molded the whole piece for casting.  That original was finished, and then remolded and four more pieces were cast.

Malcolm made himself a lovely chain to go with the original.  Unfortunately, our studio gremlins made off with it some time during our move, so all he has now are the copies.  Wanting to wear his Thor’s Hammer, he recently asked me to make a chain for him.

So this week, on the heels of finishing my competition entry, I decided to whip it off.  My hands are not quite recovered from the massive project, so by the time I was half way through working on this chain, I was having to put a bandaid on my pinky.  I was developing a blister from all the pulling.

My beloved husband is very happy with his new chain, and thrilled to be wearing his pendant.

Some more photos:


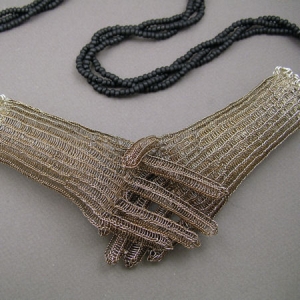
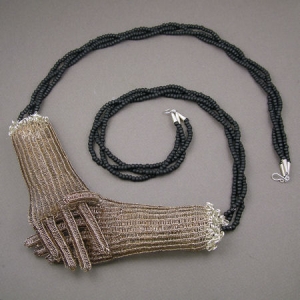
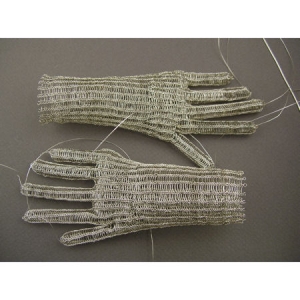
Also, as promised, I’m posting the photo of my competition entry to “Connection”, the National Juried Exhibition being held by Zilberschmuck Art Jewellery and hosted at Shao Design. The call for entry asked: “What is your interpretation of the word “CONNECTION”? Is there a connection part, link or bond? Is there an association or relationship between two or more things? Do associates, relations, acquaintances or friends influence the outcome of the piece? Is it a single connection or one of many types and kinds of connections that make up the piece? How can these ideas be formalized into a three-dimensional piece?”  My entry focused on the connection we make with each other, through a handshake. Clasping hands in greeting, in parting, in confirming business arrangements, in offering congratulations, is often the only physical connection we make with each other.
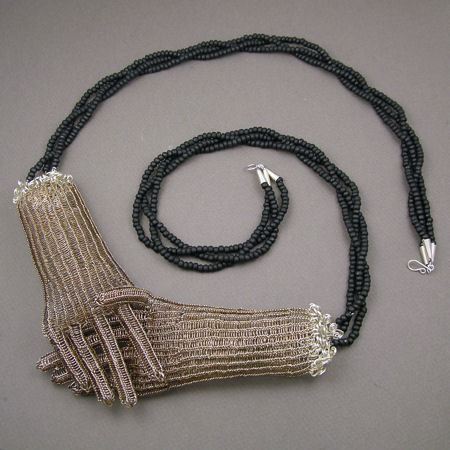
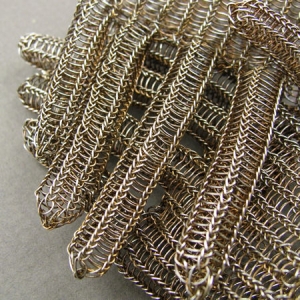
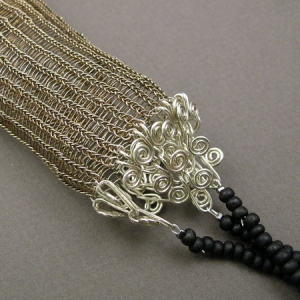
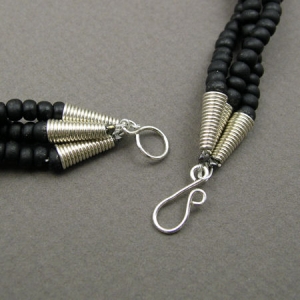
Merry Meet (2009)
Fine silver, sterling silver, glass
L 102 cm x W 7.0 cm
Nalbinding, constructed, cold-joined, liver of sulphur patination

My husband’s comment about this piece:  “It’s odd.”

Yes, but that’s  “art” jewellery for you… LOL

The hands clasp together just over the solar plexus.  If I thought anyone would wear it that way, I would have liked to turn it into a stomacher – I think it would be well suited for that – but it works as a necklace as well.

From start to finish, it took two months of solid work to construct, and is (pardon the pun) hands down, one of the most ambitious pieces I’ve ever attempted.  It’s not exactly what I envisioned – that would have taken another three months of work to complete.

As I mentioned last week, it didn’t make the final cut for the exhibition, but I’m not disappointed about that.  I am satisfied that I got it done in time for judging.

Here are more detail photos, along with shots taken during construction:

YOJ09-11 Snowflake Obsidian Bangle

This has been such a physically brutal week for me, it’s a wonder I have any energy at all to post anything.  I finally finished and submitted the viking knit piece I’ve been working on for the past two months.  I haven’t been so stressed out about getting a piece done in ages.  I developed a pinch in my shoulder, which made it difficult to turn my head.  Then the pain spread across my upper back.

As I was staring down the finish, wondering whether or not all the stress was worth the effort, I developed an earworm – a song that plays over and over in your head and won’t stop.  I kept hearing a Peter Gabriel lyric:  “Don’t Give Up, Please don’t give up…”  My spirit cheerleaders were encouraging me to keep me going, pushing me to work through the pain and the feelings of exhaustion and futility.  I’m very proud of myself for pulling through.  When I dropped the piece off, I commented to the organizer that getting it done was my reward:  if it actually made it into the exhibition, I would consider it a bonus.  (I found out tonight that the piece wasn’t accepted for exhibition, but did make it to the final round in the selection process.)
I’m paying for all the pressure now though:  for days I’ve been alternating between exhaustion, nausea, heartburn, loss of appetite, and gastrointestinal distress.  Throw in a runny nose and lots of sneezing, and we have a recipe for Not Wanting To Do Anything.

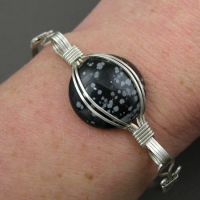
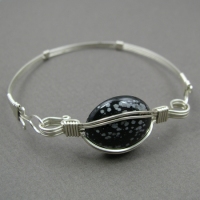
Snowflake Obsidian Bangle (2009)
Sterling silver, snowflake obsidian
Constructed, cold joined
20.32 cm dia.

Luckily, I had made the setting for this obsidian a few weeks ago while doing prep for my class in July.  I wasn’t sure what I wanted to do with it, so I left it sitting on the bench.  Tonight, I whipped off a simple bangle to go with it.  It’s about all I can manage.

I’ll post photos of the competition piece next week when I get it back.

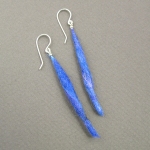
YOJ09-10 Fun with Fibre

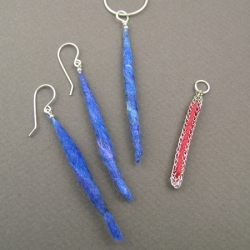
Fun with Fibre Earrings 1 (2009)

Sterling silver, wool
L 6.7 cm x W 0.5 cm
Formed, wet-felted

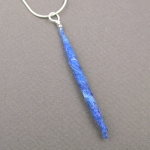
Fun with Fibre Pendant 1 (2009)

Sterling silver, wool
L 6.5 cm x W 0.4 cm
Formed, wet-felted

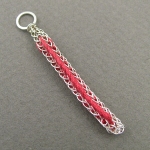
Fun with Fibre Pendant 2 (2009)

Sterling silver, fine silver, cotton thread
L 4.5 cm x W 0.45 cm
Nalbinding (viking knitting), embroidered

This has been a frustrating week, in terms of getting anything done.  Number 2 Son has been demanding a lot of attention.  “I want to do homework!  I want another printing sheet!” every 10 freaking minutes.  Normally, a parent loves to hear that their child wants to do homework, but in my case, it meant getting up from bench, sitting down at the computer, waiting for him to make up his mind about what he wanted to work on – an achingly slow process – and then printing it off.  As a result, I was never able to focus on finishing the project whose deadline came and went on Friday.

He starts JK in the fall, and then I will have more extended blocks of time to work without interruption.  I’m trying to enjoy these last couple of months of us being together before he becomes a Big School Boy, but geez it’s annoying to miss a deadline.

I haven’t given up on trying to finish the project, which is very labour intensive, but by last night, I decided that I needed to change gears.  “Ferris Bueller’s Day Off” was on tv, so I set up my felting stuff on the floor, and played while watching the movie.  I’m still working on learning felting, still hoping to apply it to bonsai.  One of the websites I stumbled across applied roving to craft wire, so I thought I’d give that a go.

My results are nothing spectacular, but then they weren’t intended to be.

The other thing I wanted to try was mixing fibre and nalbinding.  I actually wanted to mix nalbinding with wire embroidery, but figured it would be too high on the PITA factor.  I ended up using embroidery thread, but the idea still has a high PITA factor.  My embroidering skills leave much to be desired as well *grin*.   I may try the idea again, but approach it differently.

More photos:

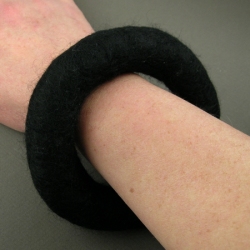
YOJ09-09 Felt Bangle

Felt Bangle (2009)
Wool
7 cm i.d.
Wet felted

This is not the project I wanted to post this week, but the one I’ve been playing with most of this evening is being very stubborn.  I’m still struggling with finishing it.

I bought a bunch of wool roving yesterday, and spent part of this afternoon experimenting with wet felting.

I found a really good series of videos on wet felted bangles on eHow.com, so the technique was easy to replicate.  Unfortunately, there’s no indication of who the lady is in the videos – I’d love to give her the credit she’s due.

I made a bunch of different things, which I’ll be playing with over the coming days.  This was my first attempt at a felt bangle.  It’s monstrous, but a reasonable start.

YOJ09-08 Effervescence Pendant

Effervescence Pendant (2009)
Sterling silver, fine silver, blue topaz
L 5.4 cm x W 2.5 cm
Constructed, flame-worked

Having made the decision to make more production pieces, I’m picking out stones from my stash and setting to work.  This week’s piece reminds me of the “Use it Up” pendants I made back in YOJ 2005-06.  I fished a piece of 15 ga. square wire out of the scrap bin and balled up the ends, then bent it into shape and added this 8.96 carat blue topaz brio.  It looked too plain, so I embellished it with 2 and 3 mm sterling beads.

Even since my friend Anna did the flower arrangements for my wedding, I’ve been mindful of the principle of using odd numbers for groupings.  She explained that it’s more pleasing to the eye to see 1, 3, or 5 things together, rather than 2, 4, or 6.  To some extent that principle is at work here with the three larger beads, and groups of 5 beads.

After I got it out the tumbler this morning, I tried it on.  The beads looked like fizzing over top of the brio, and made me think of what my kids refer to as “bubble water” – soda water.  So, it has the name “Effervescence”.   *grin*

My husband likes the pendant, but then again, he prefers any pieces to which I’ve take a torch.  The pendant wears well, but I’m not completely happy with the result – decorative beading is really not my forté – so I may it try again.

More photos:

YOJ09-07 Double-sided Citrine Pendant

Double-Sided Citrine Pendant (2009)
Sterling silver, fine silver, citrine
L 3.0 cm x W 1.3 cm
Constructed, woven

I bought this wonderful citrine at the Toronto Gem & Mineral Show many years ago.  I think I bought it when Thumper was still a baby.  Part of the reason I’ve never used it is that despite how beautifully cut it is – double sided cushion cut – I didn’t really know how I wanted to set it.

This week, while giving myself a break from the never ending viking knit project, I decided to go digging in my stash and found this beauty again.  I decided to try setting it to show off both sides of the stone.  I’ve discovered that I’ve developed a serious dislike of wrapping with half round wire.  At least, I dislike the 21 ga half round I have.  It’s just too thick for what I want to do.  So, to make a thinner setting, I use 28 ga fine silver.  It’s fiddly to work with, but it allows the stone to take centre stage instead of being overwhelmed by the wire.  Both sides are worked almost identical.  The bezel is basically two pieces of square wire woven with 28 ga wire.  The channel created in the centre of the weaving holds the girdle of the stone.  The 2 mm beads act like prongs to hold the stone in the setting.  It’s visually similar to the pendant I made in Week 4.  I like the way it turned out.

I’m making progress on the viking knit piece – it’s now 3 1/2″ long, but I’m starting to doubt that I will have it finished in time for entry to the competition.  *sigh*  I’ll keep plugging away at it, because it’s really starting to take shape.  At the same time though I need to work on production pieces, hence the citrine pendant.

More photos:

YOJ09-06 Viking Knit Pendant

Viking Knit Pendant (2009)
Sterling silver, fine silver, glass
Constructed, liver of sulphur patination
L 2.9 cm x W 1.9 cm

I’ve got Viking knitting on the brain this week, because I’m working on a competition piece that uses that technique.  It’s a slow, tedious process, but at the same time, strangely rhythmic and meditative.  So far on the competition piece I’ve used about 15 ft of wire, and have oh… 1 1/2″ (just under 4 cm) of knitting completed.

Needless to say, it’s not the piece I’m posting for this week.

Since I have my fingers suitably warmed up, I figured I’d try using the technique on a pendant, and add a woven bail.  This result is slightly different than the netted pendant I made for myself about a year ago.

I also decided to add liver of sulphur patina to it because silver and clear glass is just plain boring.  The thing I love about LOS is the range of colours that can be produced, from straw yellow to deep dark black.  My LOS is very old – so old in fact that it doesn’t dissolve properly anymore.  I mixed up a weak solution and swirled the pendant around in it.  Initially it went gold/brass coloured, but I decided I wanted to go deeper, so I popped it back in.  I like the coppery brown colour I have now.

More photos, both with and without LOS:

YOJ09-05 The Caged Heart Grows Cold

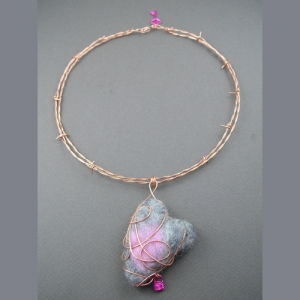
The Caged Heart Grows Cold or Portrait of the Artist circa 1998 (2009)
Bare copper, polymer coated copper, wool
Constructed, needle-felted
Pendant:  L 7.5 cm x W 4.2 cm; Neckwire:  L 45 cm

I’ve been debating with myself for three weeks about what and how much to write about this week’s entry.  I made the felted heart in week 2, but then discovered that studio gremlins had made off with my copper wire…  I finally found a small spool of it last week, so was able to start work on the project.  The gremlins are refusing to let go of the rest, though, so this is the last copper piece I’m going to be making for the time being.

I spent a lot of time during my hiatus meditating on the direction I should go with my jewellery.  Time and time again I’ve gotten the message that my jewellery needs to connect with the spirit, and express more of my inner voice.

So, my piece this week speaks from a very personal perspective.  The very long story behind it is one that only my very closest friends have known about before now.

YOJ09-04 Swarovski Pendant

This has been a busy week.  I’ve been juggling a bunch of different projects, trying to wrap some up, get ahead on others.  I’ve made some progress in my quest to figure out how to incorporate felting for a bonsai.  Unfortunately, the avenue I’m following at the moment is very labour intensive.

Years ago, an acquaintance at the Gem & Mineral Club of Scarborough named Frank Hoffman commented that if you’re going to go to the effort of making a piece of jewellery, you should make it out of karat gold.  His reasoning was that for the same labour you would be able to charge a much higher price, because of the perceived value of the gold.  For this felted bonsai, I’m starting to think he made a good point.

Anyways… I made a pair of earrings this week, which are being given away as a birthday present, but I didn’t want to post those.  So… here it is, Sunday night, and I need to post something.

About a year ago, a lady on CWJ, Nancy Van Tassell, was selling off some Swarovski gems.  I bought a bunch.  They’ve been sitting in my stash ever since.  Recently, when I was cleaning up my bench, I discovered them again.  So… with the clock ticking down, I decided to try my hand at a pendant.  Since the gem has a deep back, I had to figure out how to set it without ending up with the point sticking out too much.  I also didn’t want the pendant to look really heavy.  So, the solution was to make an openworked bezel.  It turned out okay, but I think it would have looked better in a thinner gauge of wire.

My eyesight is going…  *gloom*… and I’m tired… and the pendant took forever to make… but hey, at least I got a piece done.

YOJ09-03 The Bird Ring

The Bird Ring (2009)
Sterling silver, wool
Needle-felted, constructed
Size 7

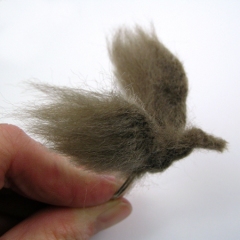
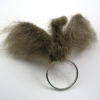
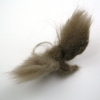
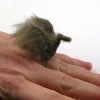
Alright, I admit: this looks a bit odd, but trust me, it’s part of the process of figuring out if felting will work for a bonsai ring.  This week, I was needle-felting onto an armature.  I’m working with wool roving, which is very fiddly on a small scale.  This was worked dry, but I’m going to have to try it wet to see if it gives me more control.  I’m also thinking that I may need to buy some felt sheets and see how that works.

Here are some other views:

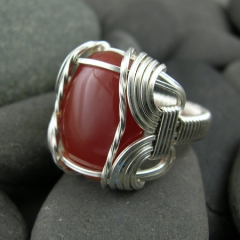
YOJ09-02 Standard Form Ring

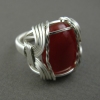
Standard Form Ring (2009)
Sterling silver, carnelian
Size 10

I wasn’t intending to post this as my second entry for the YOJ, but it’s now Sunday, the due date for this week, and the piece I actually wanted to post isn’t finished.  I’m “tweaking”.  It feels very much like I’m doing a science experiment.

So… in the meantime…

I’m going to be teaching at Haliburton again this summer, and I have a bunch of tutorials I need to write in preparation for the class.  Last fall I proposed a second level wire jewelry course, which was accepted.  One of the projects is going to be the Standard Form Ring, aka Pharaoh’s Ring.  (Why it’s called the “Pharaoh’s Ring” is a mystery:  I haven’t been able to find any historical examples using wire.  References to cast versions, yes, wire, no…).  It’s called the “Standard Form Ring” because it’s one of the all-time classic wireworking ring patterns.  A version of this ring was published in Moods in Wire by Ellsworth Sinclair, Beginning Wirecraft by Jessie Donnan, and in the Wire Artist Jeweller Magazine (June 2003).  It’s a substantial ring, usually worn by men.  I started writing my version this week, in between printing off “printing sheets” for Number 2 Son, who likes to do “homework”.

(Edit Jun. 25/09:  Thanks to some excellent detective work by Helen Goga, a historical reference for the Standard Form Ring has been found!  Mr. Thomas Vincent Phelan received a patent for the ring design (US Des. 150,726) in August 1948.  The patent lasted for 14 years, and the design went into the public domain in 1962.)

My own personal artistic proclivities don’t lean towards classical wirework, so I haven’t made this type of ring before.  I followed the WAJ instructions for my first two attempts.  I often tell my students that they shouldn’t worry about what their first attempt looks like:  usually with the first one, you’re just trying to get your head around the steps, so clumsiness is part of the process.  It’s no different for me.  This ring was attempt number 3… and I’ll likely make at least two more in the process of refining, writing and photographing the steps for the instructions.

There are useful wireworking skills to be learned from doing this project.  There are definitely some “tricks” to getting it to look nice.  Notes are being scribbled…

Some other views: