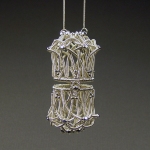
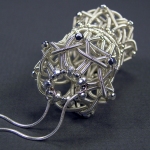
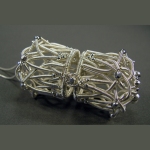
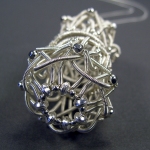
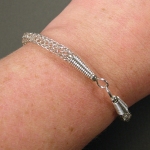
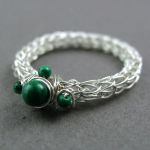
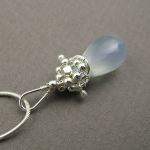
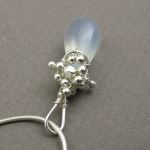
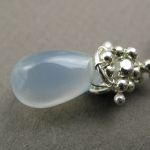
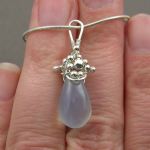
YOJ09-29 Freeform Bangle

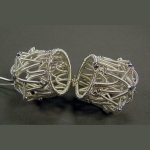
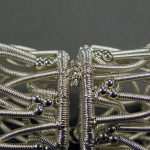
Freeform Bangle (2009)
Copper
Constructed, cold joined, liver of sulphur patination

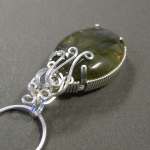
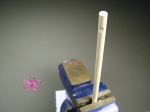
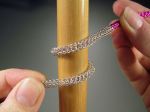
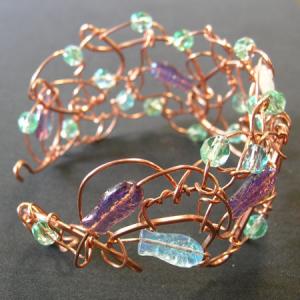
I’ve been in Haliburton for the last week teaching the Wire Jewellery course, so this week’s entry is one of the projects made during the week.  This is the “freeform” bangle we made on Thursday.

Week 2 and Wire Jewellery II start tomorrow.  Four of the ladies from last year have signed up again, and one from last week is in the class as well.  So there are going to be lots of familiar faces!

I’ll write more about the classes after next week when I’m home again.

YOJ09-28 Prong Set Ring

Prong Set Ring (2009)
Sterling silver, cubic zirconium
Size 7
Constructed, cold joined

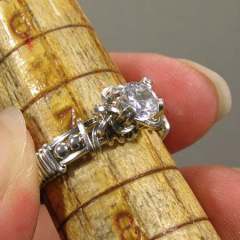
Life is crazy busy right now as I finish preparations for Haliburton.  So this week’s entry is a variation on Jorgen Greftegreff’s Prong Ring (published originally in the April 2001 issue of The Wire Artist Jeweller).

The good news is that my wire arrived finally, and I didn’t need to reorder anything!  *Whew*

My computer access is going to be limited for the next two weeks, so while I’ll try to post YOJ pieces on time, more than likely it will wait until I get back.

YOJ09-27 Art Nouveau Cab Bangle

Art Nouveau Cab Bangle (2009)
Sterling silver, bloodstone
L 21.5 cm x W 2.5 cm
Constructed, cold joined

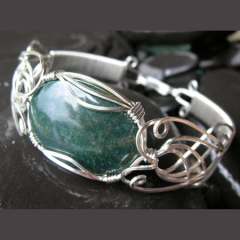
Although it’s supposed to be a calming stone, I’ve always found bloodstone to have a kind of overpowering “in-your-face” energy that’s difficult to deal with.  For the last few weeks, though, I’ve been wearing it while working on my tutorials, and it’s been helpful for keeping my energy levels up and focused.  I love the red spotting on this cab, and the slight yellow cloud overlaying the green.  This was part of a group of cabs I bought when The Nautilus closed 10 years ago.  The Nautilus was *the* place in Toronto to buy rockhounding and lapidary supplies.  Located in the far, far east of the city, I remember it taking an obscenely long time to get there on city transit from where I lived in Little India.  But what a treasure trove!  The owner, Roy MacLeod, was a passionate rockhound and filled his store with all the bits and bobs needed to work with and admire rocks.  Sadly, Roy didn’t live to see the millennium, and the closing of his store left a void that still hasn’t been filled.

In designing the Level II course for Haliburton, I was thinking about what skills would be most useful for the students to learn.  In Level I, they learn the basics:  working with single wires, developing dexterity with tools, etc.  There are very few multi-wire projects.  In Level II all but two of the projects are multi-wire pieces, and the students have to deal with doing steps early on that don’t actually come into full use until much later in the construction. Wire control becomes very important.

One of the things Level II focuses on is settings:  half of the projects deal with some form of stone setting.

I think this is by far the most complex of the projects I’ll be teaching.  Hopefully by the time we get to this point in the course, the students will have enough confidence to tackle it.  If not, it’s easily adapted to something simpler.  I’ll let them decide how energetic they want to be.

This tutorial will be available for purchase and download off my website after I get back from Haliburton.  I’ll post the link when it’s up, along with more photos.

YOJ09-26 Prong Set Pendant

Prong Set Pendant (2009)
Sterling silver, labradorite
Constructed, cold joined
Private Collection

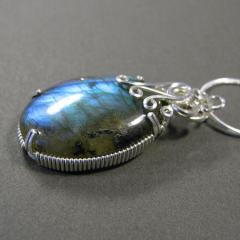
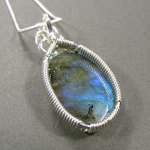
I found this labradorite in my stash again recently while working on the prong set pendant tutorial.

I’m rediscovering my love of stones, and am fantasizing about going to Bancroft to *shop*!  Having put myself on a buying moratorium for the last few years, I normally go to the gemboree just to have a look around.

When I floated the idea of going this year, my DH surprised me by suggesting I go by myself!  It’s a long drive to take the boys on, and since they don’t show much interest in rocks (other than the ones they can throw into water), the show is wasted on them.

Hmmm…. the possibilities…

More photos:

YOJ09-25 Netted Pendant

Netted Pendant (2009)
Fine silver, sterling silver
L 6.0 cm x W 2.5 cm

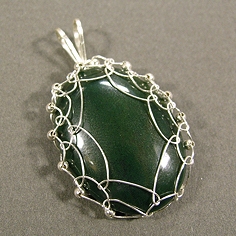
I’m running a bit behind with my YOJ postings, but I have been keeping up with doing the pieces.  My focus has been on preparing for my class, which starts 9 days from today!  This netted pendant is one of the projects for the class.

The good news is that I will get all of the tutorials done.  The bad news is that I have no idea if my wire is going to arrive in time!

Getting the supplies for these classes has really tested my patience. Back when I worked in the mining industry, the gentleman I worked for always reminded me to prepare for Murphy’s Law.  I’ve been reminded of that over and over in the last few weeks…

I do my best to support Canadian companies, partly because I believe in buying locally, but also because that way I don’t have to deal with the extra hassle of shipping, customs, duties and fluctuating exchange rates.

But some suppliers really make it a pain in the ass to deal with them.

Case in point:  John Bead, a trade-only wholesaler and beader’s heaven.  They would be an ideal Canadian supplier if they actually had the things I needed IN STOCK!!!  Three weeks ago I went to JB – my first visit in years – and I was reminded why I don’t bother to shop there unless I absolutely have to.  The warehouse is a frustrating jumble of aisles and bins.  Just finding things is the first challenge.  Then the flat nose pliers I wanted were out of stock.  I had to settle for a cheaper, lighter weight version.  The round nose pliers – every style – were out of stock.  The only pliers they did have in stock were their own house brand – at $20 a pop.  They didn’t have enough spools of 26 gauge copper wire, so I had to buy half of them in brass.  No 1.5 mm antique copper chain in stock.  Barely any 2 mm copper beads in stock.  This is a wholesaler, remember, with several thousand sq. feet of showroom space…

*If* they had had the pliers, I would have been well over their minimum purchase requirement.  As it was, I ended up having to visit their Swarovski room and buy a bunch of Swarovski crystals I didn’t really want or need to make up the difference.  And even there, the stock on some of the common colours was patheticly low!

So, if you’re in Canada, looking for wholesale Miyuki, Swarovski or Preciosa, John Bead is a go-to supplier if you can meet their minimum.  As for me, I think next year I’ll deal with the shipping costs, and customs charges, and just order from Rio Grande…

And increase the cost of the kit…I’m dealing with a very tight budget here, so that makes sourcing reasonably priced supplies problematic.

Thankfully, I found another supplier for the round nose pliers – Habsons Jeweller Supplies in Vancouver.  They had the quantity I needed in stock, and they had them packed and shipped the day after I ordered them.  This is the second time they’ve come through for me on a hard-to-find item.  Last year I bought a half dozen wooden ring mandrels from them – impossible to find elsewhere in Canada, but they had them.  I love these guys.  Great customer service.  Actually, maybe I’ll order from them first next year…

Next was the still-ongoing misadventure with the copper wire.

There are NO suppliers of shaped copper wire in Canada.  So, ordering from the US is required.

I placed my order in mid-June, with expected delivery in 10 business days.  The time came and went, and when I followed up this last week, I found out the supplier missed something on the paperwork.  The package had been returned and had sat in their warehouse for a week before being sent out again.  So now I’m sitting here hoping the package will arrive in the next few days.  If it’s not here by Tuesday, I have to re-order the whole lot (US$900+), and have it sent up here by express overnight courier.  Cost of the courier:  US$102.  *gloom*  And I have to re-source the cabochons because I cleaned them out of their 22×30 mm with my last order.   And then I’ll have two complete sets of the wire I need for the classes once the other order finally does arrive.  The owner is doing her best to be helpful, even taking time out of her vacation to deal with this for me.

In the meantime, I’m beavering away, working on tutorials, putting together what I can of the kits, and trying not to stress out…

YOJ09-24 Shiva’s Pomander

Shiva’s Pomander (2009)
Fine silver, sterling silver
Pendant: L 6.1 cm x W 3.2 cm
Chain: 88 cm
Constructed, coiled, cold joined, flameworked

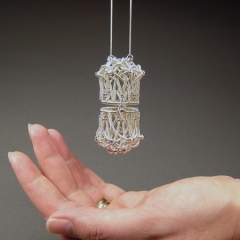
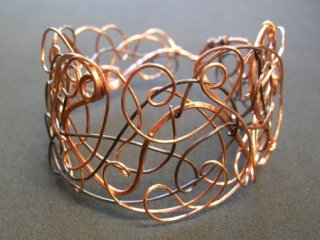
A little over a year ago, Perri Jackson sent me Strange Attractor, a stunning wire bead she’d made as a thank you gift for helping her with a tutorial.  Looking at it, I wondered how the structural coiling technique she used could be adapted to something other than a bead.  Something like a locket maybe… It got me puzzling…

An opportunity to experiment came in the form of a call for entry from Rails End Gallery.  Every year the gallery hosts a show featuring work by the faculty of the Haliburton School of the Arts.  This year, the theme is “Vessel”.

Originally, I had wanted to make the vessel to house this heart, but screwed up – err… made a Design Choice that ended up creating a much larger container than intended. The original design would have hung horizontally, with the chain running through the centre.  With this one, the design lends itself better to a vertical orientation.

This week when I was talking to Perri, I mentioned that I was working on a locket-type piece for the show.  She asked what it looked like.  “Sort of like a Shivalingam,” I said.

So… the piece is heading out the door today to get sent up to Haliburton.  There is, of course, the obligatory Artist Statement that goes with it:

In Hinduism, the lingam is a symbol of Shiva. Worn in a similar fashion as a Christian cross, the intent is to draw the blessings of the Higher Power to the wearer. Using structural coiling and weaving techniques developed by Perri Jackson, I decided to interpret this symbol as a pomander worn over the solar plexus. It allows the wearer to carry a prayer or fresh flowers within: a reminder to always recognize the Source of all life’s gifts.

VESSEL: HSTA Faculty Exhibition
Rails End Gallery & Arts Centre
23 York Street
Haliburton, Ontario, K0M 1S0
June 30 – July 30, 2009
www. railsendgallery.com

More photos:

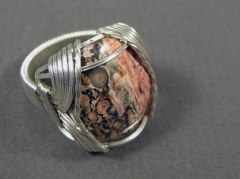
YOJ09-23 Standard Form Ring (Again)

Standard Form Ring
Sterling silver, jasper
Constructed, cold connected
Size 10

Yes I’m posting the same project as in Week 2.  At that point I had written the instructions for the tutorial, and the carnelian ring posted was the product of the writing process.   This time the ring is the product of the photography process.  I have now completed two of the six tutorials I need to write for my class.  Number three is written and transcribed to computer; photography for that project will happen tomorrow.  With any luck, number three will be done by Wednesday.

I’m now into the most challenging part of my schedule for the year.  With five weeks to go until my class, I’m multitasked up to wazoo.  I’ve been taking advantage of the convenience my netbook is offering me:  I can sit out on the front porch and work in the warmth of a sunny day while my children play in the yard.  If they are working on an educational CD doing “homework” on the clunker laptop in the kitchen, I can also sit at the table and do “my” homework.

Life is humming along…

Next week’s project will be much more spectacular, I promise.  It’s in the finishing stages now, and will be on its way to the Rails End Gallery this week for the HSTA Faculty Exhibition, “Vessel”, which opens on June 30.

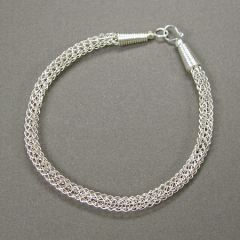
YOJ09-22 Viking Knit Bracelet

Viking Knit Bracelet (2009)
Fine silver, sterling silver
Nalbinding, cold connected
L 20.5 cm x W 0.4 cm

I’m hard at work on the tutorials for my class, so this week’s project is the product of that work.  I’ve been doing a lot of photography, and editing and layout.  I’ve been pretty much eating, sleeping and breathing the project.  The first tutorial is finished, and the second is well in hand.  Four to go… and six weeks until the classes start.

More photos:

YOJ09-20 Viking Knit Ring

Viking Knit Ring (2009)
Fine silver, malachite, howlite
Nalbinding, single knit, constructed, cold joined

I finally got back to writing this week!  I have six tutorials to write in preparation for my class in Haliburton in July.  So far I have completed writing the draft on one of them.  Photos and actually putting the tutorials together are still outstanding.  I’m keenly aware of how quickly the time is going, so a few weeks ago I decided to put Tigger into daycare two days as week.  That is giving me several hours of uninterrupted work time, since it co-incides with the days that Thumper is in school.  What Heaven!

Usually I make the project, writing the steps as I go.  Then I put the text aside for a week or so, come back to it and reconstruct it following my instructions.  If I stumble on any part of it, that means a rewrite is in order.   Refining continues as I take the photos and do the layout.  Lots of work… which means I gotta start makin’ like a bread truck and haul buns…

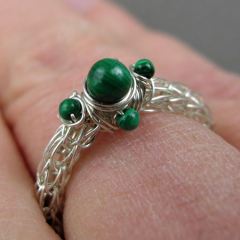
This week, I was working on instructions for viking knitting.  I experimented with incorporating 2 and 4 mm beads, which led to a screw up – err… “Design Choice” – when I went to draw the chain.  I ended up having to take the chain apart, but salvaged enough to make this ring.  It’s been an interesting experiment in timing myself as well – construction of enough chain to make a bracelet is taking a little over 2 hours.  Adding the beads was just for my amusement, and won’t be part of the final instructions.

More photos:

YOJ09-17 Chalcedony Effervescence Pendant

Chalcedony Effervescence Pendant (2009)
Sterling silver, fine silver, chalcedony
L 3.0 cm x W 1.2 cm
Cold connected, flame worked

I went to the Toronto Gem Show today – and I was by myself!!  Woo hoo!  That meant I had the freedom to be able to browse, and chat with friends, and to shop.  I was looking for some things for my upcoming classes at Haliburton, but in the end decided that what I’ve found online is still a better bargain.  But… I couldn’t resist a strand of chalcedony brios I came across.  In a table full of stuff that looked like it was dyed, I found one package that had a beautiful opalescent glow.  So, despite being on a buying moratorium for the past three years, I decided those beads had to come home with me.  Even the sales lady commented about the package, saying that if I hadn’t bought it when I did, it wouldn’t have been around later – someone would have snapped it up.
Tonight I picked out one of the beads, and made this little pendant.  It looks somewhat similar to the pendant I made in Week 8, so I’ve giving it a similar name.

More photos:

The Retro Show

I attended the opening of Zilberschmuck Art Jewellery’s National Juried Exhibition “Connection” on Thursday evening.  Running concurrently with that exhibition (see the outstanding work here) is “The Retro Show”, a retrospective of past shows organized by Zilberschmuck.

It was standing room only at Shao Design, which was hosting the event.  Cheryl Fraser, owner of Zilberschmuck, gave an emotion filled speech welcoming everyone, and thanking Shao Pin Chu for opening his studio for the show.  It was great to see lots of familiar faces and to meet a few new friends.

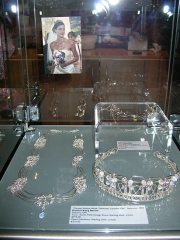
Two of my pieces from the Karen Kelly Fashion Show (2004) are included in The Retro Show, and I was able to snap this photo of the case:

The exhibitions continue until May 30, 2009.  Directions here.

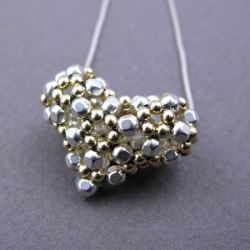
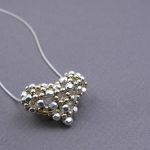
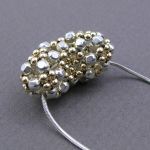
YOJ09-15 Beaded Puff Heart Pendant

Beaded Puff Heart Pendant (2009)
Sterling silver & gold-filled beads, fishline
L 2.8 cm x W 2.5 cm x D 1.0 cm
Beaded, right angle weave

This week’s project is part one of a larger piece I’m working on for an HSTA faculty exhibition to be held at the Rails End Gallery in July.

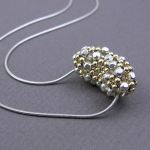
This is the first time I’ve ever tried my hand at straight beading, and I have to say that I’ve developed a very healthy respect for the people who do this type of work.  This heart was created using a pattern by “Laura” published on the 3DBeading.com site.  I initially had the foolish idea to try it using wire, but gave up after about 5 steps.  Fishline is definitely the way to go. I would love to repeat this pattern using rubies, but there’s no way to thread the fishline into the itty-bitty holes the multiple times the pattern requires.

It turned out a little bigger than I originally wanted, but the impact on the overall design will be minimal, and may actually make the final piece more interesting.

More photos: