YOJ09-34 Stocking up for Christmas

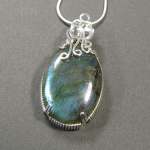
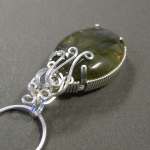
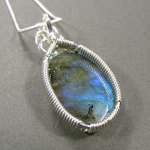
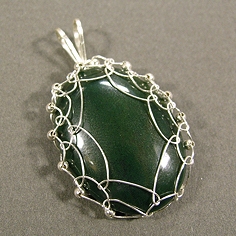
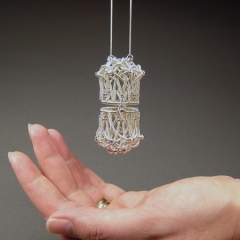
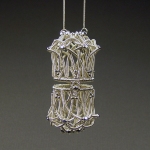
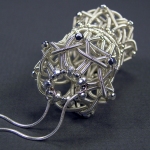
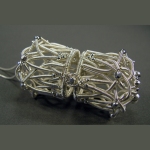
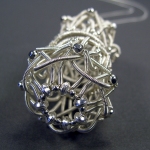
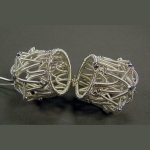
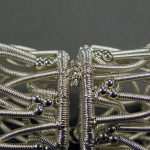
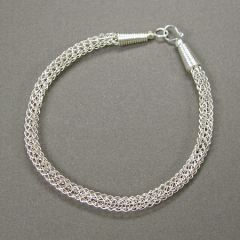
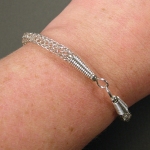
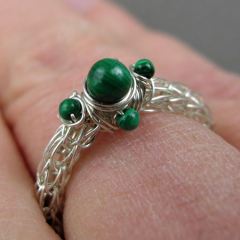
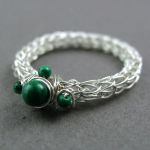
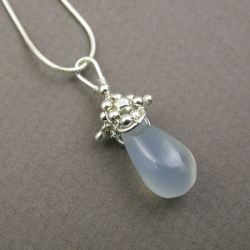
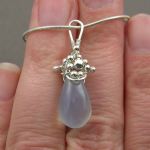
The week 34 project isn’t a specific piece of jewellery, per se, more like a bunch of things I made in preparation for Christmas sales on my Etsy shop.

Not really much more to say than that.  Oh, and if you’re interested in purchasing my jewellery, click this link.

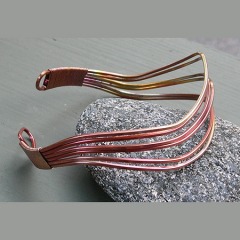
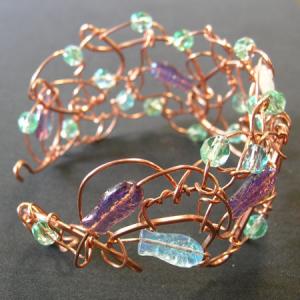
YOJ09-32 Cooked Copper Bangle

Cooked Copper Bangle (2009)
Copper
Constructed, cold joined
L 22 cm x W 3.0 cm

During week 2 of my stay in Haliburton, one of the students taking my Wire Jewellery II class, Barbara-Joy Peel, showed us some pieces she had made in copper.  The pieces had a really fabulous patina, which she said she achieved by “cooking” the copper in a frying pan.  On the last day of the class, she brought in an iron frying pan, borrowed a hot plate from the Teen Cuisine class, and we tried out the technique for ourselves.

What fun!  The copper changes colours gradually, going from copper, to orange, to yellow, to red, to purple, and then to dark blue.  The dark blue turns silvery when the piece cools.  If the piece doesn’t lie flat, then the result is a mottled colouration.

For week 32, I decided to try it again.  I made a bangle, and cooked it.  I think this is a really cool technique which I’m going to experiment with more.

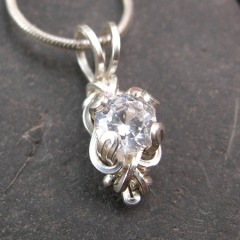
YOJ09-31 CZ Solitaire Pendant

CZ Solitaire Pendant (2009)
Sterling silver, cubic zirconium
Constructed, cold joined
L 1.5 cm x W 0.6 cm

Getting caught up after a couple of weeks away.  I kept up with the projects, but didn’t have a chance to photograph them until today.  My entry for week 31 is an adaptation of the solitaire prong setting by Jorgen Greftegreff.  My husband gave me a solitaire pendant for Christmas a couple of years ago, and I’ve always wondered if the setting could work in wire.  This version, while successful in the sense that the adaptation worked, is a bit too messy on the back for my preferences.  It was worth the experiment though :-).

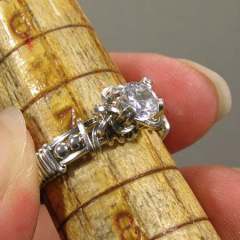
YOJ09-28 Prong Set Ring

Prong Set Ring (2009)
Sterling silver, cubic zirconium
Size 7
Constructed, cold joined

Life is crazy busy right now as I finish preparations for Haliburton.  So this week’s entry is a variation on Jorgen Greftegreff’s Prong Ring (published originally in the April 2001 issue of The Wire Artist Jeweller).

The good news is that my wire arrived finally, and I didn’t need to reorder anything!  *Whew*

My computer access is going to be limited for the next two weeks, so while I’ll try to post YOJ pieces on time, more than likely it will wait until I get back.

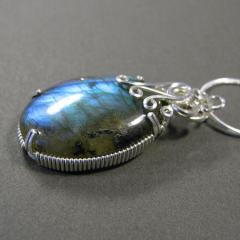
YOJ09-26 Prong Set Pendant

Prong Set Pendant (2009)
Sterling silver, labradorite
Constructed, cold joined
Private Collection

I found this labradorite in my stash again recently while working on the prong set pendant tutorial.

I’m rediscovering my love of stones, and am fantasizing about going to Bancroft to *shop*!  Having put myself on a buying moratorium for the last few years, I normally go to the gemboree just to have a look around.

When I floated the idea of going this year, my DH surprised me by suggesting I go by myself!  It’s a long drive to take the boys on, and since they don’t show much interest in rocks (other than the ones they can throw into water), the show is wasted on them.

Hmmm…. the possibilities…

More photos:

YOJ09-25 Netted Pendant

Netted Pendant (2009)
Fine silver, sterling silver
L 6.0 cm x W 2.5 cm

I’m running a bit behind with my YOJ postings, but I have been keeping up with doing the pieces.  My focus has been on preparing for my class, which starts 9 days from today!  This netted pendant is one of the projects for the class.

The good news is that I will get all of the tutorials done.  The bad news is that I have no idea if my wire is going to arrive in time!

Getting the supplies for these classes has really tested my patience. Back when I worked in the mining industry, the gentleman I worked for always reminded me to prepare for Murphy’s Law.  I’ve been reminded of that over and over in the last few weeks…

I do my best to support Canadian companies, partly because I believe in buying locally, but also because that way I don’t have to deal with the extra hassle of shipping, customs, duties and fluctuating exchange rates.

But some suppliers really make it a pain in the ass to deal with them.

Case in point:  John Bead, a trade-only wholesaler and beader’s heaven.  They would be an ideal Canadian supplier if they actually had the things I needed IN STOCK!!!  Three weeks ago I went to JB – my first visit in years – and I was reminded why I don’t bother to shop there unless I absolutely have to.  The warehouse is a frustrating jumble of aisles and bins.  Just finding things is the first challenge.  Then the flat nose pliers I wanted were out of stock.  I had to settle for a cheaper, lighter weight version.  The round nose pliers – every style – were out of stock.  The only pliers they did have in stock were their own house brand – at $20 a pop.  They didn’t have enough spools of 26 gauge copper wire, so I had to buy half of them in brass.  No 1.5 mm antique copper chain in stock.  Barely any 2 mm copper beads in stock.  This is a wholesaler, remember, with several thousand sq. feet of showroom space…

*If* they had had the pliers, I would have been well over their minimum purchase requirement.  As it was, I ended up having to visit their Swarovski room and buy a bunch of Swarovski crystals I didn’t really want or need to make up the difference.  And even there, the stock on some of the common colours was patheticly low!

So, if you’re in Canada, looking for wholesale Miyuki, Swarovski or Preciosa, John Bead is a go-to supplier if you can meet their minimum.  As for me, I think next year I’ll deal with the shipping costs, and customs charges, and just order from Rio Grande…

And increase the cost of the kit…I’m dealing with a very tight budget here, so that makes sourcing reasonably priced supplies problematic.

Thankfully, I found another supplier for the round nose pliers – Habsons Jeweller Supplies in Vancouver.  They had the quantity I needed in stock, and they had them packed and shipped the day after I ordered them.  This is the second time they’ve come through for me on a hard-to-find item.  Last year I bought a half dozen wooden ring mandrels from them – impossible to find elsewhere in Canada, but they had them.  I love these guys.  Great customer service.  Actually, maybe I’ll order from them first next year…

Next was the still-ongoing misadventure with the copper wire.

There are NO suppliers of shaped copper wire in Canada.  So, ordering from the US is required.

I placed my order in mid-June, with expected delivery in 10 business days.  The time came and went, and when I followed up this last week, I found out the supplier missed something on the paperwork.  The package had been returned and had sat in their warehouse for a week before being sent out again.  So now I’m sitting here hoping the package will arrive in the next few days.  If it’s not here by Tuesday, I have to re-order the whole lot (US$900+), and have it sent up here by express overnight courier.  Cost of the courier:  US$102.  *gloom*  And I have to re-source the cabochons because I cleaned them out of their 22×30 mm with my last order.   And then I’ll have two complete sets of the wire I need for the classes once the other order finally does arrive.  The owner is doing her best to be helpful, even taking time out of her vacation to deal with this for me.

In the meantime, I’m beavering away, working on tutorials, putting together what I can of the kits, and trying not to stress out…

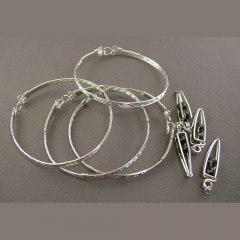
YOJ09-24 Shiva’s Pomander

Shiva’s Pomander (2009)
Fine silver, sterling silver
Pendant: L 6.1 cm x W 3.2 cm
Chain: 88 cm
Constructed, coiled, cold joined, flameworked

A little over a year ago, Perri Jackson sent me Strange Attractor, a stunning wire bead she’d made as a thank you gift for helping her with a tutorial.  Looking at it, I wondered how the structural coiling technique she used could be adapted to something other than a bead.  Something like a locket maybe… It got me puzzling…

An opportunity to experiment came in the form of a call for entry from Rails End Gallery.  Every year the gallery hosts a show featuring work by the faculty of the Haliburton School of the Arts.  This year, the theme is “Vessel”.

Originally, I had wanted to make the vessel to house this heart, but screwed up – err… made a Design Choice that ended up creating a much larger container than intended. The original design would have hung horizontally, with the chain running through the centre.  With this one, the design lends itself better to a vertical orientation.

This week when I was talking to Perri, I mentioned that I was working on a locket-type piece for the show.  She asked what it looked like.  “Sort of like a Shivalingam,” I said.

So… the piece is heading out the door today to get sent up to Haliburton.  There is, of course, the obligatory Artist Statement that goes with it:

In Hinduism, the lingam is a symbol of Shiva. Worn in a similar fashion as a Christian cross, the intent is to draw the blessings of the Higher Power to the wearer. Using structural coiling and weaving techniques developed by Perri Jackson, I decided to interpret this symbol as a pomander worn over the solar plexus. It allows the wearer to carry a prayer or fresh flowers within: a reminder to always recognize the Source of all life’s gifts.

VESSEL: HSTA Faculty Exhibition
Rails End Gallery & Arts Centre
23 York Street
Haliburton, Ontario, K0M 1S0
June 30 – July 30, 2009
www. railsendgallery.com

More photos:

YOJ09-22 Viking Knit Bracelet

Viking Knit Bracelet (2009)
Fine silver, sterling silver
Nalbinding, cold connected
L 20.5 cm x W 0.4 cm

I’m hard at work on the tutorials for my class, so this week’s project is the product of that work.  I’ve been doing a lot of photography, and editing and layout.  I’ve been pretty much eating, sleeping and breathing the project.  The first tutorial is finished, and the second is well in hand.  Four to go… and six weeks until the classes start.

More photos:

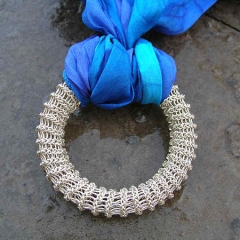
YOJ09-21 Viking Knit Torus

Viking Knit Torus (2009)
Sterling silver
Nalbinding
L 55 mm x W 55 mm x D 10 mm

I’m insane.

People who know me are familiar with this quirk in my personality, but every now and again I feel compelled to demonstrate it.  Hence, this week I decided – despite numerous pressing deadlines – I absolutely had to attempt making a torus out of viking knitting.

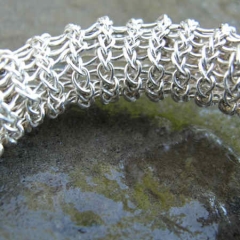
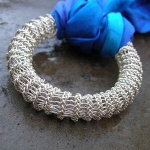
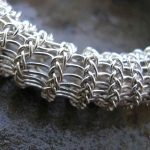
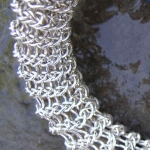
Nalbinding was historically used for things like socks, mittens, bags, hats and the like.  In wire, it’s been used mostly for chainwork.  To the best of my knowledge, no one has tried using it for sculptural wirework, and certainly no one has tried using it to construct a torus.  Loren Damewood, who I’ve had the pleasure of meeting, has made a toroid bracelet out of string, with plans to attempt it in wire, but his technique is marlinspike knotting.

Thanks to my experience making the Merry Meet necklace, I decided to make the first attempt in polymer coated wire.  I have pounds of the stuff, and it’s great for experimenting.  Unfortunately though, it doesn’t lend itself to annealing, which meant I could only get as far as shaping the torus.  I couldn’t finish the seaming without risking wire breakage.

I’m contributing that first piece to The Metal Arts Guild of Canada’s call for Nuit Blanche 2009.

I’m completely obsessed with this idea, so decided that I would try one in silver.  At the Zilberschmuck “Connection” opening a couple of weeks ago, I was talking to Charles Funnell about viking knitting.  He had been trying to do some chainwork and was finding it challenging.  I commented that it would work better in fine silver than in sterling, because the metal is more maleable.  Unfortunately, the only fine silver wire I have on hand at the moment is 28 ga, and the idea of doing it in that fine a gauge really didn’t appeal to me.  So, I decided to try 24 ga sterling in dead soft.

Well…

It was easier to work than the polymer coated copper, but I still ended up with a blister on my pinky from pulling wire.  After a while, even wearing a bandage on the finger didn’t help.  Yes, I suffer for my art…

The main challenge of a torus is making it seamless. The rest is just like making tubing.  I figured out a way of making the stitches nice and tight, thanks to a tool that Loren uses for his turks head knot rings.  Three stitches before the finish, and despite frequent annealing, the wire broke on me!  :bang head:

Luckily the repair was easy, and I was able to finish it up.  I spent far too many hours on this, but I’m very pleased with it and want to make more as time and my finger permit.  The ghost of Frank Hoffmann is whispering in my ear again though:  for the amount of work involved, I should be making it in gold.

More photos:

YOJ09-20 Viking Knit Ring

Viking Knit Ring (2009)
Fine silver, malachite, howlite
Nalbinding, single knit, constructed, cold joined

I finally got back to writing this week!  I have six tutorials to write in preparation for my class in Haliburton in July.  So far I have completed writing the draft on one of them.  Photos and actually putting the tutorials together are still outstanding.  I’m keenly aware of how quickly the time is going, so a few weeks ago I decided to put Tigger into daycare two days as week.  That is giving me several hours of uninterrupted work time, since it co-incides with the days that Thumper is in school.  What Heaven!

Usually I make the project, writing the steps as I go.  Then I put the text aside for a week or so, come back to it and reconstruct it following my instructions.  If I stumble on any part of it, that means a rewrite is in order.   Refining continues as I take the photos and do the layout.  Lots of work… which means I gotta start makin’ like a bread truck and haul buns…

This week, I was working on instructions for viking knitting.  I experimented with incorporating 2 and 4 mm beads, which led to a screw up – err… “Design Choice” – when I went to draw the chain.  I ended up having to take the chain apart, but salvaged enough to make this ring.  It’s been an interesting experiment in timing myself as well – construction of enough chain to make a bracelet is taking a little over 2 hours.  Adding the beads was just for my amusement, and won’t be part of the final instructions.

More photos:

YOJ09-17 Chalcedony Effervescence Pendant

Chalcedony Effervescence Pendant (2009)
Sterling silver, fine silver, chalcedony
L 3.0 cm x W 1.2 cm
Cold connected, flame worked

I went to the Toronto Gem Show today – and I was by myself!!  Woo hoo!  That meant I had the freedom to be able to browse, and chat with friends, and to shop.  I was looking for some things for my upcoming classes at Haliburton, but in the end decided that what I’ve found online is still a better bargain.  But… I couldn’t resist a strand of chalcedony brios I came across.  In a table full of stuff that looked like it was dyed, I found one package that had a beautiful opalescent glow.  So, despite being on a buying moratorium for the past three years, I decided those beads had to come home with me.  Even the sales lady commented about the package, saying that if I hadn’t bought it when I did, it wouldn’t have been around later – someone would have snapped it up.
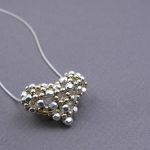
Tonight I picked out one of the beads, and made this little pendant.  It looks somewhat similar to the pendant I made in Week 8, so I’ve giving it a similar name.

More photos:

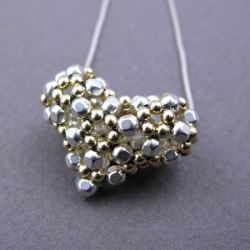
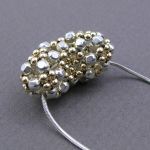
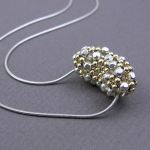
YOJ09-15 Beaded Puff Heart Pendant

Beaded Puff Heart Pendant (2009)
Sterling silver & gold-filled beads, fishline
L 2.8 cm x W 2.5 cm x D 1.0 cm
Beaded, right angle weave

This week’s project is part one of a larger piece I’m working on for an HSTA faculty exhibition to be held at the Rails End Gallery in July.

This is the first time I’ve ever tried my hand at straight beading, and I have to say that I’ve developed a very healthy respect for the people who do this type of work.  This heart was created using a pattern by “Laura” published on the 3DBeading.com site.  I initially had the foolish idea to try it using wire, but gave up after about 5 steps.  Fishline is definitely the way to go. I would love to repeat this pattern using rubies, but there’s no way to thread the fishline into the itty-bitty holes the multiple times the pattern requires.

It turned out a little bigger than I originally wanted, but the impact on the overall design will be minimal, and may actually make the final piece more interesting.

More photos: