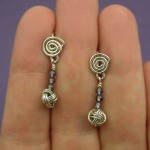
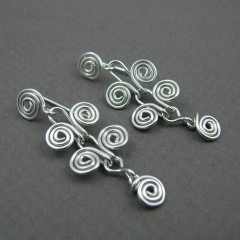
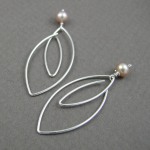
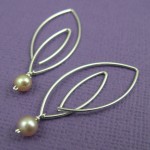
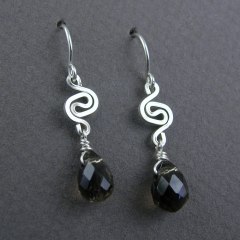
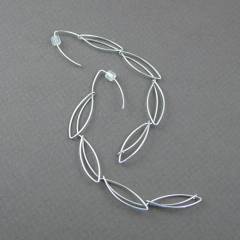
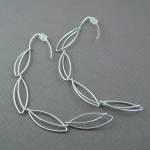
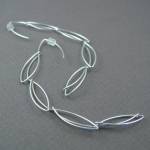
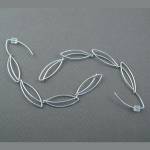
YOJ11-12 Twirl & Swirl Earrings

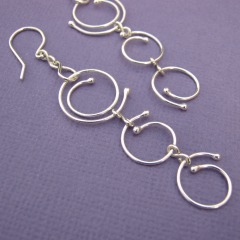
Twirl & Swirl Earrings (2011)
Sterling silver
Formed, flameworked, cold-joined
L 6.5 cm x W 1.6 cm

So far in this Year of Jewelry I haven’t been following any of the themes, but this week’s theme, Made from Two Feet of Wire,  was intriguing.  The design constraint – using only two feet of wire total, regardless of embellishment – offered many possibilities.  I decided to focus on earrings.  This pair was the first result that best met the criteria.  I tried various permutations of thicker and thinner wire, some of which produced interesting designs, but used either substantially less or more wire.  It turned out to be a fruitful week!  Happily, I’m also caught up again!

YOJ11-07 Butterfly Twirl Earrings

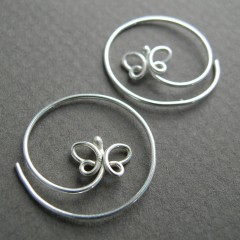
Butterfly Twirl Earrings (2011)
Sterling silver
Formed, soldered
2 cm dia.

This week I had one more idea for the butterflies – a pair of hoop earrings.  Here, the butterflies fly around in a loop.  The earrings insert from the back of the earlobe and curl around to bring the butterflies to the front.

It’s been a frustrating week.   I went back to my projects notebook to work on one of the tutorials I wrote in the fall.  I quite often write a set of instructions, then put them away for a while, so I get it completely out of my head.  Then when I come back to it, I’m looking at it with fresh eyes.  It lets me test whether I can follow what I wrote.

I tend to go through several attempts at making the project while I’m writing instructions, refining the design as I go and making sure the steps make sense.  Because of the rising cost of silver, the prototypes for the project I’m currently reviewing were originally constructed in copper wire.

Well…  that was a mistake.

Silver, even in dead soft temper, is stiffer to work that copper – a small detail I forgot to consider – so the only thing I succeeded in doing was adding to my scrap bin.  I’m now revising the project so it will work in silver.

YOJ11-04 In Production Mode

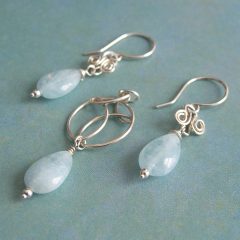
Aquamarine Bridal Set (2011)
Sterling silver, aquamarine
Formed, cold-joined, flameworked
Pendant: L 4.0 cm x W 1.5 cm
Earrings: L 3.8 cm x W 0.7 cm

I had such high hopes this week for getting a lot done.  I did get a lot done, but very little of it related to what I wanted to be doing, which was making jewelry for restocking galleries and for an upcoming studio tour.  Oh well.  As we said when I was a kid:  C’est la vie, c’est la guerre, c’est la pomme de terre…

I’m in production mode and working on things that can be quickly made.  These earrings and pendant are part of a “Something Blue” casual/bridal line.  The stone is aquamarine – a strand I picked up last fall at the GMCS show.  I’m still on a buying moratorium but the icy opaqueness of the stone is part of what appealed to me.  I have very little blue in my stone inventory, because most of the time, blue stones can’t withstand the punishment of tumbling.

I’m actively working through my stash of stones, so pendants and bracelets are also on their way!

YOJ11-02 Peacock Feather Earrings

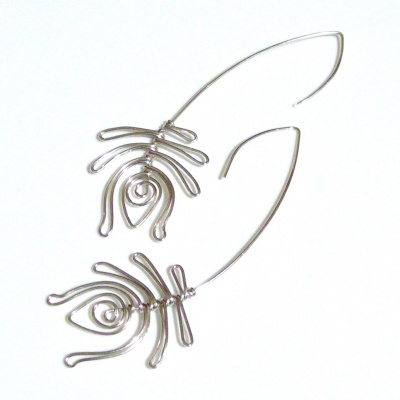
Peacock Feather Earrings (2011)
Sterling silver
Formed
L 8.5 cm x W 2.9 cm

.

I devoted a lot of this week to experimentation, and specifically to working with forming wire over a solid core.  Although my experiment went well, I didn’t finish the project to the point where I can post it.  More about this next week.

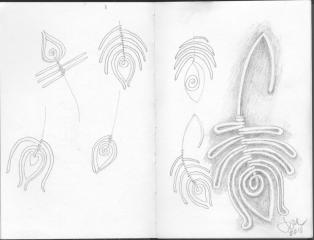
So… it being Saturday, and due date for my next YOJ posting, I went back into my sketchbook and pulled out a design from last summer.

Because of the price of metals, I’ve taken to working out some of my ideas on paper before attempting them in wire.  This is challenging for me because I’ve never been particularly good at translating things from two dimensions into three.

I love sketching, and for a few of the pieces I worked on this summer, I did a more elaborate drawing.  But, I know very well that just because I can draw something doesn’t mean I can build it.

However, I’m getting better at it, and this was one of the projects that worked well on paper and in 3D.

Tutorial – Ancient Whispers Earrings (Free)

Tutorial - Ancient Whispers Earrings

Ancient Whispers Earrings (Free download)
8 pages, 43 photos, 43 steps
Level of Difficulty:  Easy

What do these earrings remind you of?  A lady of Ancient Rome strolling in her garden, admiring the mosaics and calla lilies?  The Ionic Columns of Ancient Greece soaring above the Acropolis? Whatever springs to mind, the classics are never out of style!

It’s been quite a while since I released a free tutorial! While I put the finishing touches on my upcoming (and first!) Intermediate tutorial, I decided I’d make available this pair of earrings, which were originally featured in Week 13 the Year of Jewelry 2010.

This project was developed for a workshop I’ll be teaching this week and next at Harbourfront Community Centre in Toronto.

Tools & Materials You’ll Need:

Tools:
Flat Nose Pliers
Round Nose Pliers
Flush Cutting Wire Nippers
Permanent Marker
Measuring Tape/Ruler
Jeweler’s File
Rouge Cloth
Materials:
33 inches (75 cm) 20 gauge (.80 mm) Hard Round Wire  

Substitutions:
Half hard wire can be used for this project.

https://wrapturewirejewellery.on.ca/blog/2010/03/yoj10-13-ancient-whispers-earrings/

Click here to download!

Other tutorials (fee and free) are available on my Tutorials page.

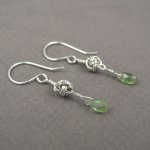
YOJ10-15 Knotted Earrings 3

Knotted Earrings 3 (2010)
Sterling silver, fine silver, tourmaline
Constructed, cold-joined
L 3.7 cm x W 0.5 cm (W 1.45″ x L 0.2″)

Continuing on from last week, since I made several of the Monkey’s Fist knots, I made another pair of earrings!

I’ve been doing some experimenting with photography lately, putting my pieces on a white background instead of the medium gray.  I’m looking for ways to make the images “pop” more – in my recent work I’ve been using a lot of stones that have the same value as the background, and it makes the jewellery look dull.  “Value” in colour terms refers to how light or dark it is.  (To see check the value of your stone, stare at the photo with squinted eyes – if the stone disappears it has the same value as the background.)  In order for a photo to have visual interest, it has to be either lighter or darker than the background, otherwise the eyes see what’s there, but the brain registers “ho hum”.

It’s a bit more work to deal with a white background – inevitably, and even though I have a white balance setting on my camera – the raw photo comes out slightly grey.  Photoshop can adjust the balance it easily, but then I usually still have to do some extra clean up.  It’s a bit tricky to lighten the background enough to get rid of “noise” but not so much that the jewellery bleaches out.

From a print perspective, (putting on my editor hat for a moment), getting photos with white background is a godsend for layout.  I can plunk them down anywhere on a page and build text around them.  Or I can crop and put several images close together – something that isn’t possible when the jewellery is shot on a grey or staged background.   There are no distractions – you look at the jewellery and nothing else.

While they work for print and web, white backgrounds do *not* work well for jury photos.  I had the opportunity to sit in on a jury for a show recently (something I highly recommend BTW, it’s very educational), and I noticed that the photos with white backgrounds were always very jarring.  Backgrounds with a value of medium to dark (but not black) and *absolutely no props* worked best for jury photos.  Prop shots work well for Etsy, but are distracting in jury.

More photos:

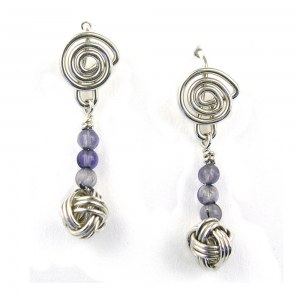
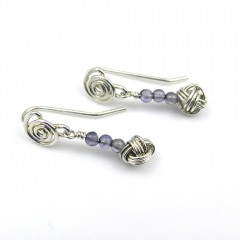
YOJ10-14 Knotted Earrings 2

Knotted Earrings 2 (2010)
Sterling silver, iolite
Constructed, cold-joined
L 2.5 cm x W 0.7 cm (L 0.98″ x W 0.275″)

My life is all about choices:  if I choose to focus on one area of my life, another area gets sacrificed.  For the past few weeks, I’ve had to focus on some group endeavours, and so my work on YOJ projects ground to a halt.  I’m working towards finding balance, but haven’t found it just yet.

For this week’s project, my focus was on making bridal jewellery.  My thoughts were on “something blue” and “tying knots”.

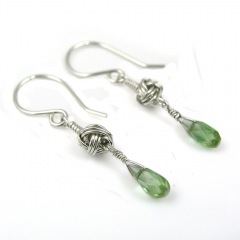
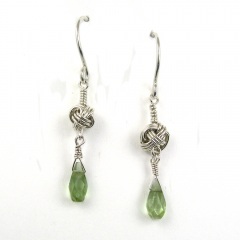
The Monkey’s Fist is a classic macramé knot, usually used as a weight or ornament on the end of a rope.  Tying them in rope is relatively easy.  When I learned it as a child, it was just a matter of sticking a marble between two fingers, and wrapping the rope around the marble and fingers, then around the marble through fingers and then through the loops created by the fingers.  Then the loops were pulled tight.

In wire, the stiffness of the metal, and its tendency to kink makes tying challenging.  There is also the issue of trying to get the proportions right:  thinner gauge wire is more flexible to tie, but the knot becomes very small and fiddly.  I found it impossible to tie wire around a bead without it slipping all over the place.  Pulling the loops tight at the end was also a non-starter, so I had to make the initial wraps as close to round as possible – challenging since without a bead in the centre, the tendency is to wrap ovals.  I ended up creating an invent-a-tool to help.

It took a bit of practice to get consistent results (doesn’t everything?), but I did end up with a satisfying “knot”. To get the “blue” part of the earrings, I decided on adding some pale 2 mm iolites. I would love to try these in a larger gauge of wire, but I think that would really only be possible with fine silver.  Sterling just gets too stiff too fast.

More photos:

YOJ10-13 Ancient Whispers Earrings

Ancient Whispers Earrings (2010)
Sterling silver
Constructed, cold-joined
L 4.3 cm x W 1.3 cm

It’s been another productive week here in the studio, with two new ring designs (destined for tutorials), some bridal jewelry and this pair of earrings made.

The earrings are the product of some work I’ve been doing on a proposal for a one-day course.  The idea is to teach ancient techniques.  This pattern is assumed to be ancient Egyptian.  It was all but lost to time before being reintroduced in the 1840s by the House of Castellani.   The Castellanis were greatly influenced by jewelry found in excavations of ancient Etruscan sites.  As fervent nationalists, they studied the pieces coming out of the sites, and painstakingly reproduced the jewelry, in what became known as the Italian Archeological Style.  The Museo Nazionale Etrusco di Villa Giulia in Rome has in its collection a “Prehistoric” bracelet, manufactured by Castellani, which today’s wire artists would recognize as a variant of the Egyptian scroll.

The Etruscans had trading relationships with the Syrians, Phoenicians and Greeks, who all traded with the Egyptians, so it’s conceivable that the design traveled from the Nile Basin to Ancient Italy.

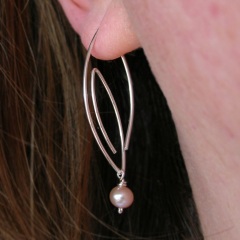
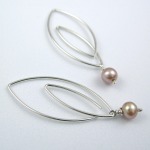
YOJ10-11 Marquise Series: Bridal Earrings

Marquise Series:  Bridal Earrings (Interchangeable) (2010)
Sterling silver, pearl
Constructed, cold-joined
L 4.0 cm x W 1.6 cm (L 1.57″ x W .55″)

I was sitting at my computer on Tuesday night, minding my own business,  when inspiration struck!  It was one of those “bolt out of the blue” ideas that forced me to get up right then, get my pliers & wire and start bending.

*Contented sigh*

I love it when that happens.

This design fulfills a long-standing desire of mine to create a pair of earrings with interchangeable bits.  The pearl drops can be removed and replaced by other drops, or can be left off altogether.  The result is a very versatile earring that can be worn with everything – from dressy to casual.

The sleek styling makes this an elegant earring for a wedding:  With the pearl, it can be worn by the bride, or without, by her bridesmaids.

These earrings are available from my Etsy Shop.

More photos:
YOJ10-08 Celtic Spiral Smoky Quartz Earrings

Celtic Spiral Smoky Quartz Earrings (2010)
Sterling silver, smoky quartz
Constructed, cold-joined
L 3.4 cm x W 0.65 cm

I love the quartz family of stones.  They’re durable and affordable, which makes them great for everyday jewellery. They come in a wide variety of colours, which makes them really versatile.

Since I’m still trying to catch up, I decided to go rummaging through my components box and pull together some bits to make this pair of earrings.  Earlier in the year I took apart a bunch of old jewellery that hadn’t sold.  I saved the pieces, because they were well made, and, quite frankly, if I can save a few minutes by using a recycled pair of earwires rather than making up new ones, why not?

Anyways, the celtic spiral I used here was once part of a bracelet.  Now they make a nice pair of earrings.

YOJ10-04 Marquise Series: Earrings 2

Marquise Series:  Earrings 2 (2010)
Sterling silver
Constructed
L 10 cm x W 0.8 cm

This week I decided to go back to and adapt the project I made at the beginning of this Year of Jewelry.  I wanted to explore it a bit more. The idea was to create a “string” of marquise shapes.  The result was a pendant and this pair of earrings.  They remind me a bit of palm fronds!

The most challenging part of the construction was getting each of the marquise shapes to end up on the same side, rather than having them alternate.  Made with hard wire, it had to be twisted very gently, because there was a high risk of snapping.  Getting the pattern to repeat in mirror image was also very tricky and took several tries.  (I have several pendants!  LOL)

I intended the earrings to be large and they are!  They make a very dramatic sweep from the earlobe to mid neck.

More photos:
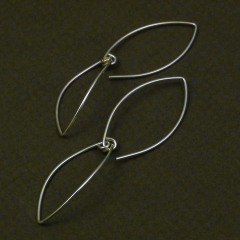
YOJ09-44 Marquise Series: Earrings 1

Marquise Series:  Earrings 1
Sterling silver
Constructed, cold-joined
L 5.4 cm x W 1.4 cm

The next logical step from the Bracelet I did for YOJ09-43 was to make a pair of earrings.  I liked the idea of making the earwire in the same shape as the link – it gives the earring a chain-like look.